Need to Know: How Do I Prevent Blisters When Hiking?
If you want to know how to prevent blisters while hiking, you’ve landed in the right place. Getting a blister while hiking is a surefire way to ruin your adventure.
It’s helpful if you know how to deal with a blister (quickly). But, wouldn’t it be so much better if you could prevent blisters in the first place? Oh yes.
Blisters are caused by friction and rubbing when hiking in improperly fitting shoes, when wearing the wrong shoes or socks, and when feet are damp or wet.
In this article, you’ll learn the top 10 ways to prevent blisters while hiking. You’ll also learn proper blister care if you do manage to get a blister out on the trail.
10 Tips to Prevent Blisters When Hiking
Just for you, here are 10 of the best tips to prevent blisters while hiking. These tips come from personal experience, as well as from hiking experts and enthusiasts.
#1: Wear The Right Socks
Socks have everything to do with hiking blister prevention. The wrong socks can cause troubles like excess rubbing and friction, moisture retention, and more.
Wearing the right kind of socks means wearing socks that fit well, don’t rub and are made from moisture-wicking materials.
Look for socks made from materials like wool, polyester, polypropylene, nylon, acrylic, and spandex or lycra, like Dickies Dri-Tech Moisture Control Crew Socks.
These synthetic materials work to pull moisture away from your skin to keep your feet dry, which will also help prevent blisters.
#2: Wear Sock Liners
Sock liners are thin socks that are meant to be worn under your regular hiking socks to keep your feet dry and prevent blisters.
Liners are made of a thin, moisture wicking material. They’re devoid of any cushion and have a flat toe seam to eliminate rubbing, too.
Hiking liner socks act as a barrier between your regular sock and hiking shoe. They conform to your foot and add an extra layer of protection.
Additionally, hiking sock liners help to pull sweat away from your skin and send it into your outer sock layer to help prevent soft, moist skin.
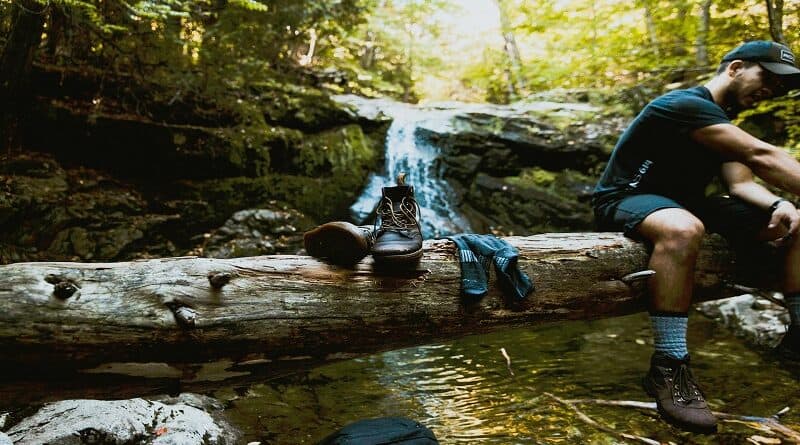
#3: Change Wet Socks Right Away
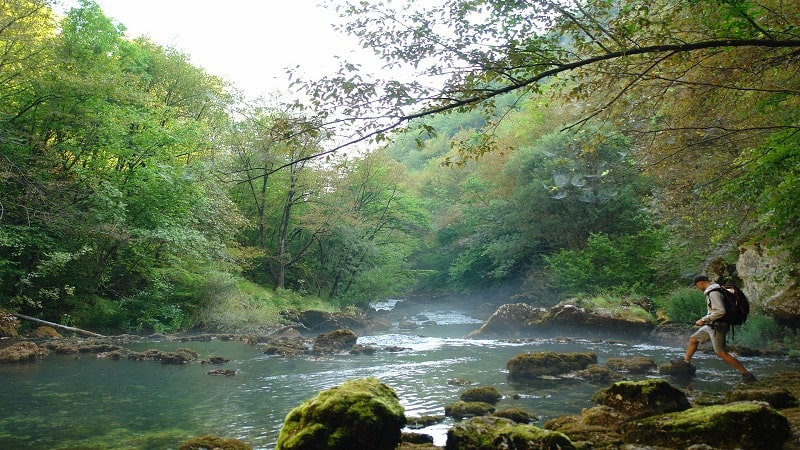
Whether your socks get wet from water or excess sweat, you should change out of wet socks and into dry hiking socks right away.
Wet socks cause excess rubbing and friction inside your shoe, which can lead to hiking blisters. Additionally, wet hiking socks lead to soft, wet skin.
When your skin is wet or moist, it’s softer. As a result, it’s much more prone to blisters, chafing and hot spots.
Always bring extra socks, even if you don’t think you’ll need them. It’s important to keep your feet dry as much as you can to prevent blisters.
#4: Properly Break In Your Footwear
One of the leading causes of blisters while hiking is wearing new footwear that hasn’t been properly broken in.
Stiff shoes and hiking boots aren’t yet conformed to your feet. As a result, there will be rubbing and chafing that will lead to blisters over time.
Some hiking boots fit perfectly new and don’t require any breaking in period. However, that’s not the case for all hiking boots or shoes.
To break in new shoes, wear them around the house, to the grocery store and for other short periods of time.
Lace them snug and walk on uneven terrain to help speed up the process. Properly broken in hiking boots or shoes can help prevent blisters.
#5: Ensure Shoes Fit Properly
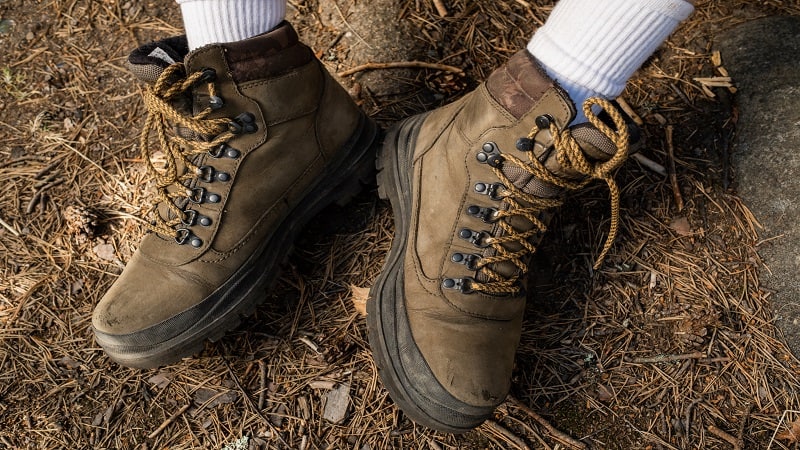
In addition to having broken-in hiking shoes, your shoes should fit properly. Hiking boots or shoes should fit snugly all around your foot, but not feel too tight.
There should be room to wiggle your toes, but there should not be excess space between your toes and the shoe or your heel and the hiking shoe.
If you plan to wear bulky hiking socks with your hiking boots, you may need a half size up. If that’s the case, always wear bulky socks so your boots fit well.
Your feet will swell when hiking for long periods. This is why it’s important that your boots are not too tight.
Sometimes, no matter how well your shoe fits, it’s still not quite right. There are different ways to lace your boots for heel slipping, pressure points and toe pain.
#6: Deal With Blisters and Hotspots Early
If you have areas on your feet that are prone to blistering, take preventative action to ensure blisters don’t even have a chance to form.
Use bandages or blister prevention tape (not duct tape). Put tape on blister-prone areas before you even arrive at the hiking trails.
Attend to blisters and hot spots right away to prevent them from worsening. Hot spots are areas on your feet that feel pressure, sore or tingly while hiking.
Sometimes you’ll get a blister before you even realize you have a hot spot. When this happens, stop immediately to cover it with a bandage or tape.
#7: Make On-Trail Adjustments
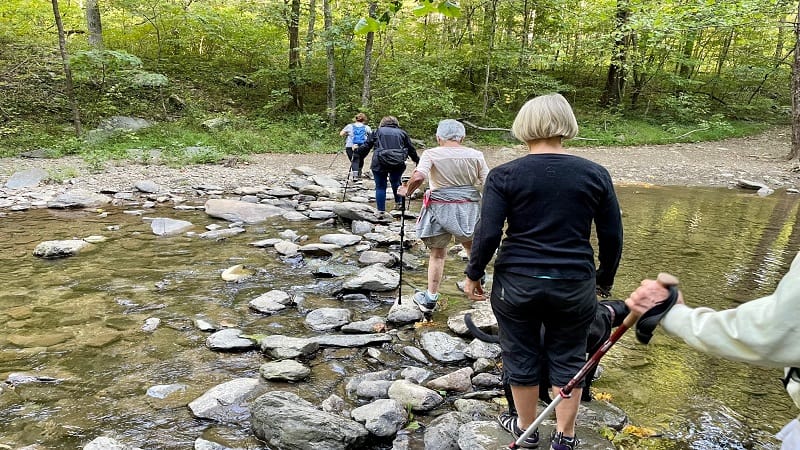
Another way help in preventing blisters while day hiking is to make adjustments while you’re on the trail.
When you stop for a snack, lunch or a break, adjust your shoes and make sure they’re still fitting properly to help prevent hiking blisters.
If you’ve picked up any rocks along the way, stop to shake them out. Re-lace your shoes, check your blister tape and bandages. Change into dry hiking socks.
#8: Lube Up Your Feet
If you’re prone to chafing, some hikers swear that lubricating your feet will help prevent chafing and blisters.
Lubing up your feet involves using Vaseline, A+D or Aquaphor. Liberally apply it to your entire foot, including between your toes, before putting socks and shoes on.
This can help prevent hot spots from forming and prevent rubbing and chafing.
#9: Let Your Feet Chill and Air Out
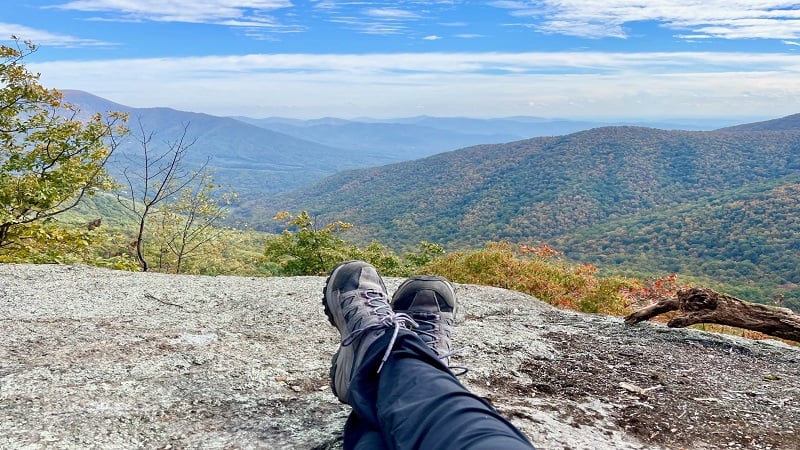
On long hiking trips and backpacking trips, it’s important to give your feet a break.
Bring along a pair of camp shoes (like Teva hiking sandals, flip flops or Crocs) to wear when on a lunch break or at camp.
This will give your feet the chance to air out, dry out, breathe and relax after a long day on the trail.
#10: Treat Blisters Appropriately
If you do end up with a blister, do not pop it. It’s important to keep the blister clean and protected.
Every hiker should have a first aid kit with them as a part of the hiking essentials
Make sure you have antiseptic, bandages and hiking blister tape in your first aid kit. Hiking with blisters is no fun at all.
Clean your blister and cover it with an appropriate protective covering, and then leave it alone. The fluid inside the blister is essential to help it heal.
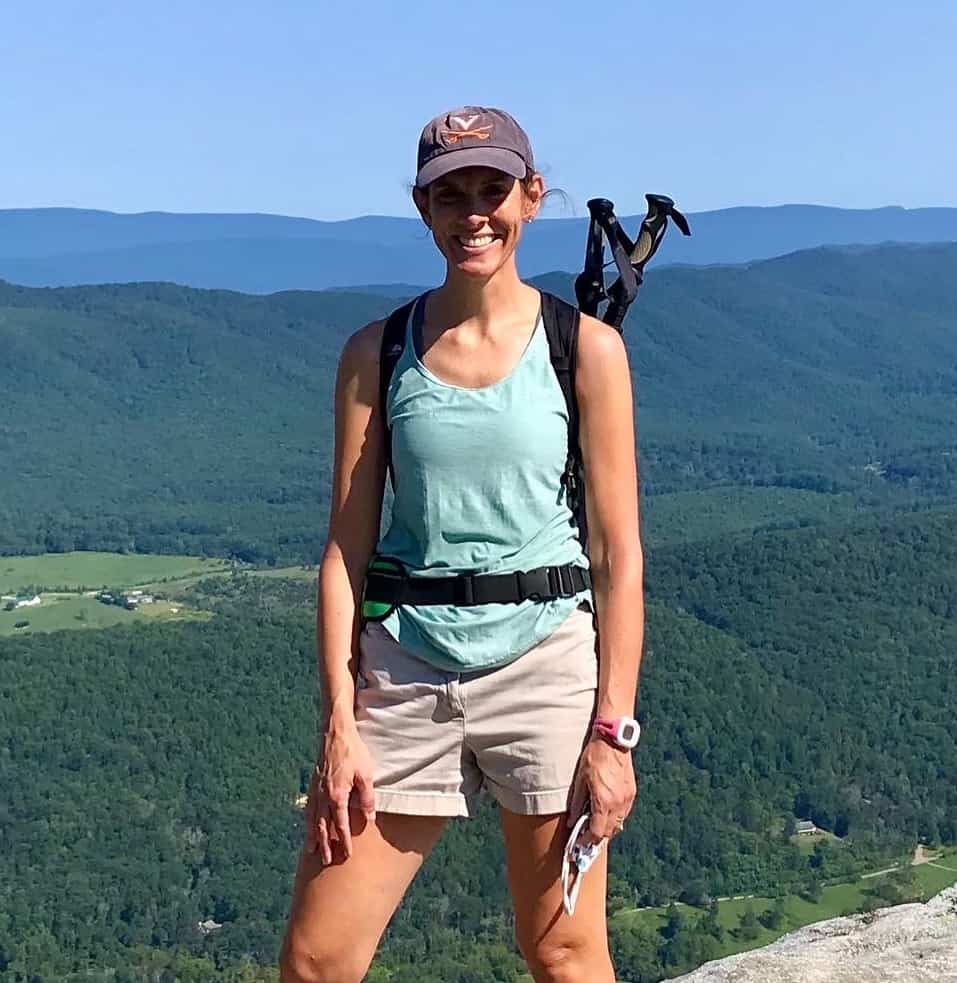
Erin Gifford has completed more than 300 hikes in Virginia. She is also the author of three hiking guidebooks from Falcon Guides. Need help finding a hike? Check out the Trail Finder feature or send Erin an email at [email protected].

