Winter Hiking for Beginners: Practical Tips & Advice
Hiking on winter trails can be magical. It’s quiet and serene, you can see for miles on a good day, and it’s great exercise during the cold months.
Winter weather hiking is also a great way to get out of the house, combat cabin fever and enjoy popular hikes without the summertime crowds.
Cold weather hiking might seem like something only a crazy person would do, but I think once you check off your first winter hike, you’ll be hooked.
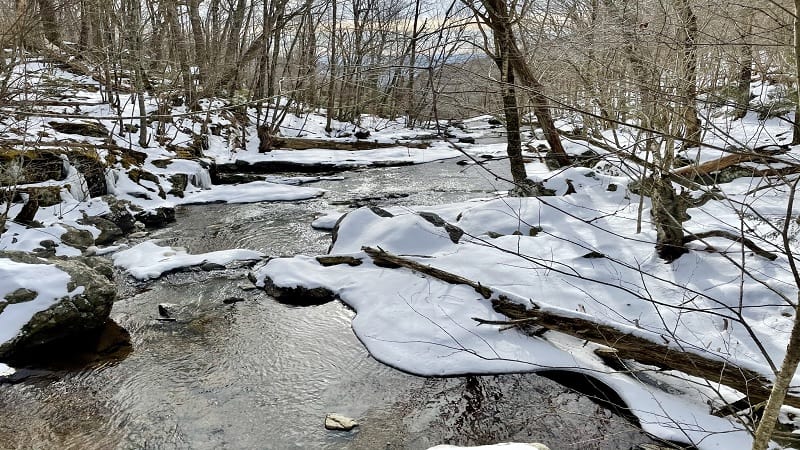
However, a day hike in the cold and snow requires more thought and planning than a fair-weather hiking or camping trip in warmer months.
So, let’s get into hiking in cold temperatures and winter conditions with what you need to get started, choose a trail, stay warm and generally be prepared.
These winter hiking tips include how to identify frostbite and hypothermia, and importantly, how to maximize enjoyment when hiking in cold weather.
Hiking in the Winter
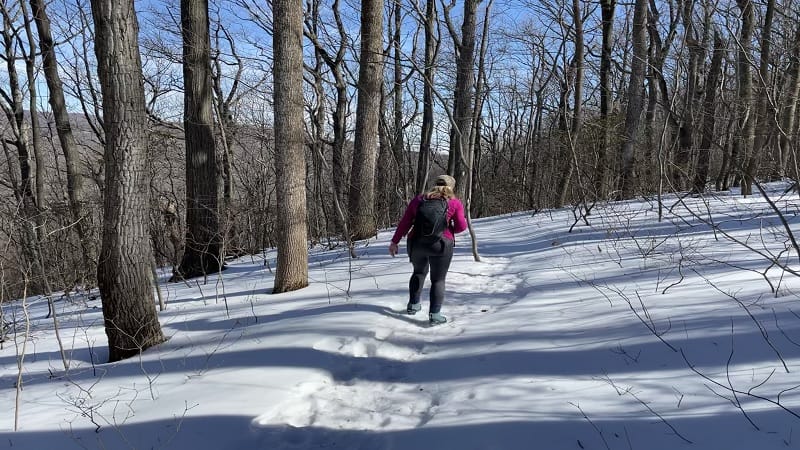
Winter hiking is different from warm weather (or even slightly cool weather) hiking. The environment is different and your body reacts differently, too.
Staying warm and dry is critical, but there’s more to consider when hiking in winter. There are a few other things to take into consideration, too.
Winter hiking can oftentimes come with reduced visibility due to snow or fog. Additionally, there just aren’t as many daylight hours in the winter.
When the sun starts to go down around 5 pm, it seems to set really fast. When it doesn’t start to rise until 7 am, you don’t have as many daylight hiking hours.
You may also have to account for ice and snow conditions. Deep snow and icy trails can be dangerous, especially for beginners and first time winter hikers.
Winter Hiking for Beginners
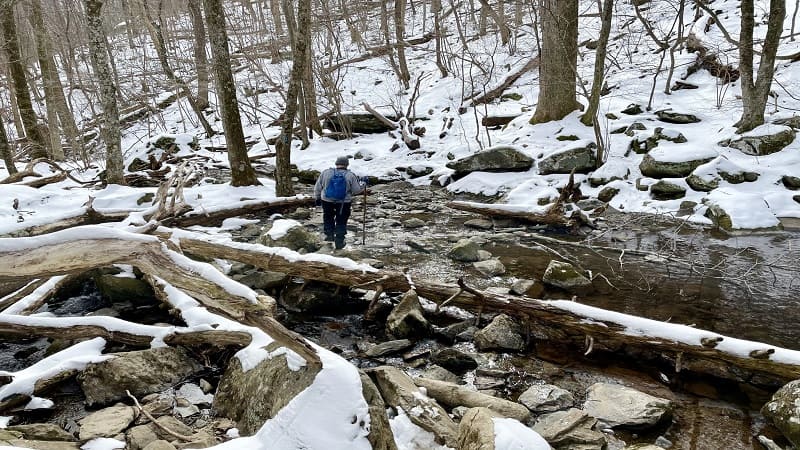
First things first, always consider the weather conditions before you head out on a winter hike.
Weather Considerations
In the winter, the weather can be a little more unpredictable than usual. Conditions can change in an instant.
Even if you checked the weather the night before, always check it again before heading out on the hiking trail the day of your hike.
Keep in mind that the daylight hours are a lot more limited in the winter months, so plan accordingly.
Daylight Hours
Keep track of sunrise and sunset times in your local area to avoid getting stuck on the trail in the dark.
Trail Conditions
In addition to staying up-to-date on the weather, consider the trail conditions the day of your hike. Will there be mud, snow or ice? Plan accordingly.
Trail Length and Type
In the wintertime it’s a good idea to choose short hikes that are less physically demanding.
Your body will be expending a lot of energy to stay warm. Plus, you’ll likely be wearing layers that can make hiking a bit more challenging.
The trail you choose should not be too long or difficult for winter hiking. This is for the purposes of your energy levels and the limited daylight hours.
Always Tell Someone Where You’re Going
You should always let someone know where you’re going when you head out the door for a hike. This is especially true in winter months.
Be sure to give a friend or family member your hiking plan, which should include such important details as:
● The trail
● The trail length
● The time you’re leaving
● When you plan to be back
● The driving route you take to the trailhead
By letting someone know your plans, your friend or family member can get help ASAP if you don’t return on schedule.
This is important in any season, but it is essential in freezing or wet weather conditions.
Know the Signs of Frostbite and Hypothermia
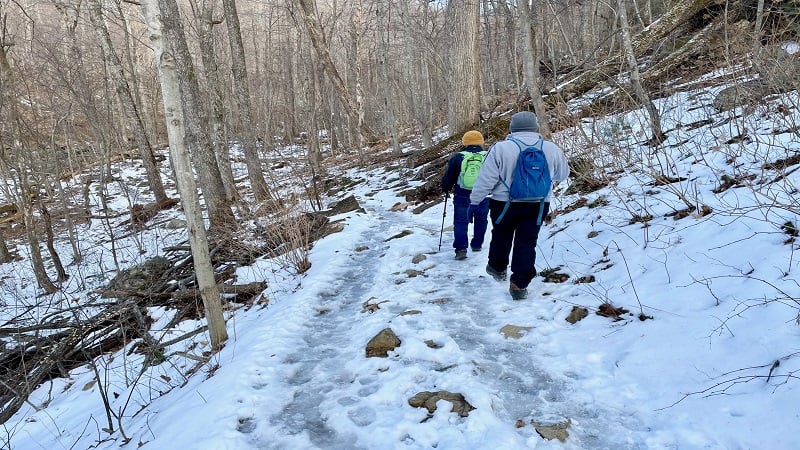
Learn to identify the first signs of frostbite and hypothermia. Frostbite can occur in just 30 minutes in temperatures of 0 degrees Fahrenheit.
This is a dangerous condition that can cause you to lose fingers, toes, earlobes or even the tip of your nose. Here are the early warning signs of frostbite:
● Cold skin and a prickling feeling at first
● Red skin
● Numbness
Hypothermia is when your body’s internal temperature dips below 95 degrees Fahrenheit. This condition can occur in any temperature below 95 degrees.
Hypothermia can be a major threat when outdoors in the winter, especially if your clothes become wet with water, snow or even sweat.
Here are the warning signs of hypothermia:
● Uncontrollable shivering
● Confusion
● Disorientation
● Drowsiness
● Exhaustion
If you or a member of your hiking party begin to show signs of hypothermia, seek out emergency assistance immediately.
Choosing a Hike in the Winter
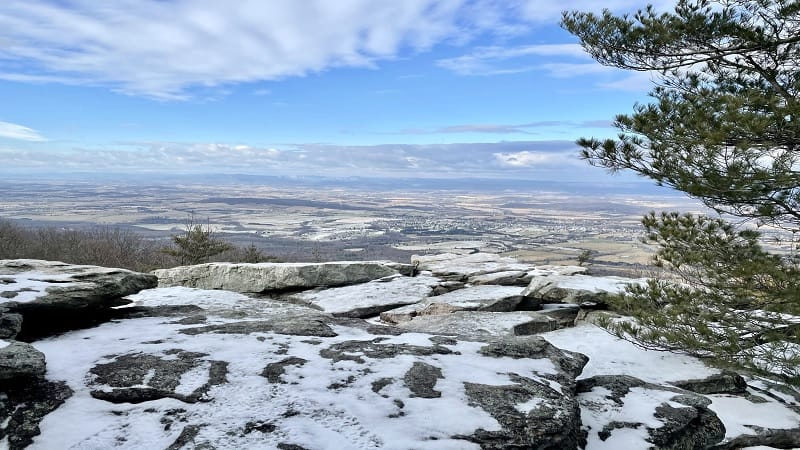
Choosing a winter hike is a bit of a different process than choosing a hike in spring, summer or fall.
In the winter, you should choose a well-trafficked and easier trail than normal. Choose a trail that’s well marked with blazes, too.
If the ground is covered with snow, choosing a well-marked trail is essential to ensure you don’t get lost.
Avoid higher elevations and opt for a trail with less elevation gain than you’d normally choose. Your body will use more energy to keep you warm in the cold.
Finally, consider the roads on the way to the trailhead. Paved roads all the way to the trailhead is a smart choice.
Use an app like AllTrails to look at trail reviews to find out trail and road conditions.
Roads that are too muddy, snowy or icy and might get you stuck could create an emergency situation just trying to get to or from the hike.
How to Stay Warm on a Winter Hike
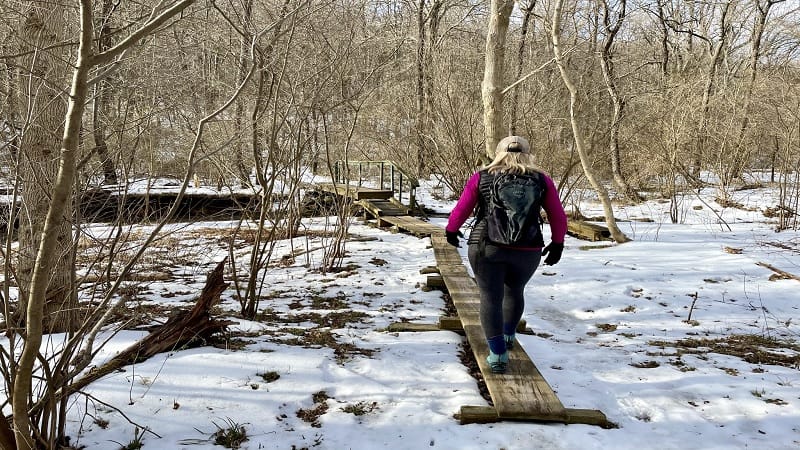
Take care to put plenty of thought and planning into your winter hiking outfits. Layers and materials make all the difference here.
Do not overdress for a winter hike. If you get too hot and sweaty, you’ll actually get cold from being damp, which in turn can lead to hypothermia.
Dressing in layers helps you regulate your body temperature and keep you dry and warm, but not too warm.
When you dress in layers, you can remove a layer when you start to get too warm.
Choose layers and materials that will keep you warm and also dry. This means using a moisture-wicking material for your base layer, like fleece or wool.
And you should also look for moisture-resistant outer layers in case of snow, drizzle or rain.
The key to avoiding getting sweaty is to take off a layer before you tackle a strenuous part of the trail. When you start to get cold, you can put them back on.
Layering Basics for Winter Hiking Safety
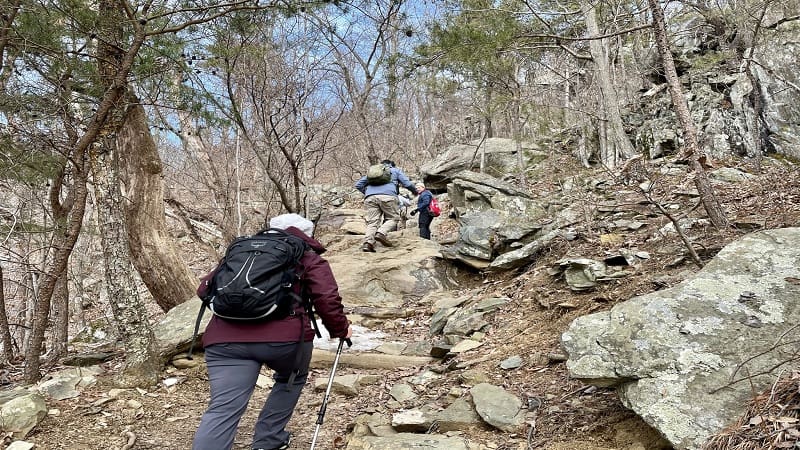
When layering for winter, remember this acronym: W.I.S.E.
● Wicking: a base layer of moisture wicking materials like merino wool, polyester or fleece that fits snug and tight to your skin
● Insulation: an insulating layer on top of your base layer
● Shelter: a weatherproof outer layer, both top and bottoms
● Extra: always keep extra layers in your hiking backpack, you never know when you’ll need them. Extras can include a dry base layer and dry socks, or more.
For your feet, you’ll want to have warm and moisture-wicking hiking socks and warm, waterproof hiking boots.
Your boots should fit well, and you should carry a set of microspikes for hiking in snowy and icy terrain.
Make sure you have a hat and neck gaiter to keep your head, neck, ears and cheeks warm and safe from wind-chapping and frostbite.
Additional items to bring along include winter hiking gloves and a pair of boot gaiters to keep your pants and boots dry while hiking in snow.
Make sure your hiking boots fit well, are well insulated and waterproof.
Also, test your microspikes with your boots before hitting the trails to ensure a proper fit.
Finally, it’s a good idea to wear bright clothing to keep yourself visible on the trail.
Wearing bright colors is essential during hunting season. And if there is any kind of emergency, you’ll be easy to find.
What Not to Wear Hiking During Winter
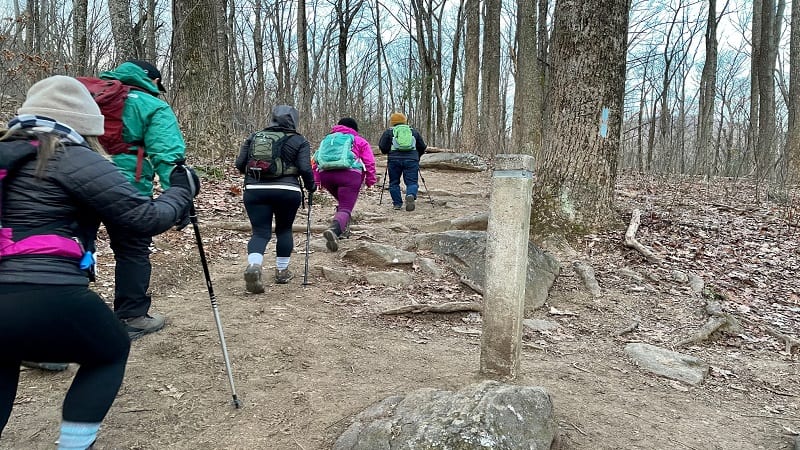
Never wear cotton or denim while hiking. Although cotton tees, socks or long underwear are comfy, it’s a terrible fabric to wear in outdoor conditions.
Cotton and denim both attract moisture and hold onto it. Hypothermia can set in quickly when you’re wet.
Denim and cotton attract and hold moisture from the environment and from your body sweating if used as a base layer. These materials are a no-no.
Winter Hiking Gear for Beginners
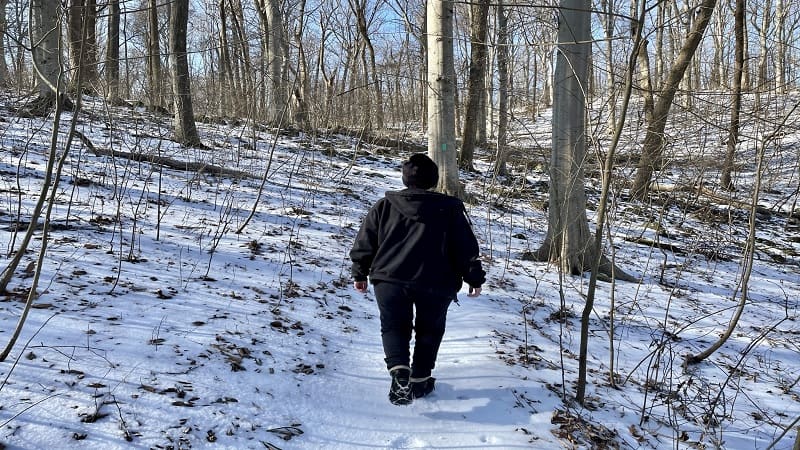
You should always bring the 13 hiking essentials on a winter hike. You’ll be glad you have the right gear when out on the trails.
Things like sunblock or snacks might not be at the top of your mind, but you don’t want to forget either of them. Here’s what to bring on a winter hike.
● Sunscreen: sun reflecting off of snow can cause sunburn
● Sunglasses: sun reflecting off of snow can also burn your eyes
● Trekking poles: hiking or trekking poles provide more balance on snowy or slippery trails
● Microspikes: snow spikes or traction devices that you can attach to your winter boots are essential for hiking in the snow or in icy conditions
● Emergency blanket: you never know when you’ll need an emergency blanket! This can be used to keep warm or as an emergency signal or shelter.
● Headlamp: headlamps are essential on every hike, but especially in winter when there’s less daylight. Even if you think you’ll be off the trail before dark, bring one.
● Portable charger: cold weather drains cell phone batteries and electronic devices incredibly fast. A portable charger is a must-have.
● Dry bag: it’s a good idea to bring a dry bag to keep your extra layers and sensitive electronics dry.
● Garmin InReach Mini: this device connects to a satellite network to help you communicate and be located in an emergency.
● Trail food: bring more trail food than you think you’ll need; your body uses more energy in winter. Bring high-protein and high-energy snacks.
● Toe and hand warmers: these should be brought along just in case your hands or toes get too cold to function!
In addition to these items, consider bringing extra socks, extra gloves, and even an extra hat. If you have room, an extra base layer is a good idea too.
What to Do the Day of a Winter Hike
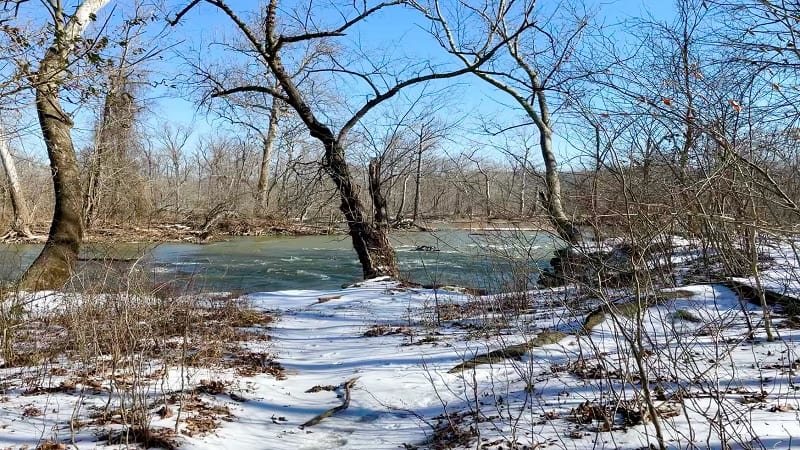
Before you hit the trails on the day of your winter hike, you should do a few things to prepare.
First, eat a nutritious breakfast. Consume foods high in protein and healthy fats like oats, peanut butter and bananas, eggs and protein bars.
Drink plenty of water, too. One of your body’s responses to cold weather is to urinate more often, which means you’ll need more water than usual.
Pack plenty of extra food and extra snacks for your hike, too. Your body will be using more energy in the cold. An extra water bottle is a good idea, too.
Another thing to do before heading out is to check the weather again! Be sure you know what the weather forecast is and be prepared.
Print out a paper map of the trail and bring it with a compass. Your phone battery will die faster in cold weather, so have a backup.
Lastly, check social media and call ahead to your destination to check for road or trail closures on the day of your winter hike.
Calling ahead will also help you get any other pertinent information you need to know about hiking that day.
Winter Hiking: Final Thoughts
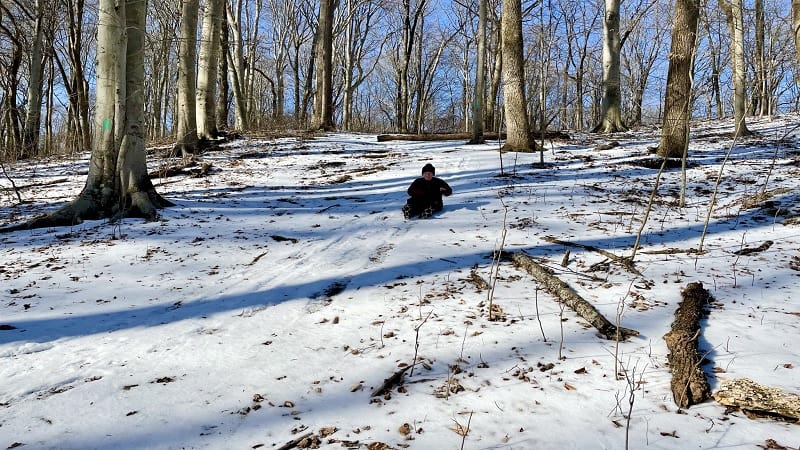
Winter is a great time to hit the trails. There are far less crowds and you can see much further when the leaves are off the trees. It can be so beautiful and peaceful.
Dealing with cold weather conditions isn’t as uncomfortable as it might seem. Once your body gets moving and your blood flowing, you’ll barely notice the cold.
Preparation is key to not only staying warm on a winter hike, but staying safe. Plan ahead and pack and dress appropriately to enjoy hiking all winter long.

Erin Gifford has completed more than 300 hikes in Virginia. She is also the author of three hiking guidebooks from Falcon Guides. Need help finding a hike? Check out the Trail Finder feature or send Erin an email at [email protected].


